Installing Emulators
Installing emulators is the fun part, but it is beyond the scope of this guide to explain how to set up every single emulator. I need to preface here by saying that you will need to refer to the emulator’s documentation, guides, and forum posts if you need further assistance with each emulator.
Typically, you will have one emulator per system as the author will focus on one system. However, some emulators work for two or more systems.
The backbone of many emulator setups will start with MAME and RetroArch, which cover arcade games and many popular consoles. Then, you may need to use specific emulators to fill the gaps not covered by the MAME/RetroArch combination.
Info: There may be many choices for an emulator for any given system. Different emulator projects by different groups often have strengths and weaknesses compared to each other. You may find that your favorite game works better in a certain emulator, so you may need to try out different emulators yourself.
Info: Note that some emulators require a BIOS file dumped from the console in question. This often means putting the BIOS files, after being dumped from the console, into a BIOS folder or a similar location.
There is a table of emulators on the next page to assist you in choosing emulators. To demonstrate an example of installing an emulator, let’s use [RetroArch] as an example since it is good for running a wide range of different emulator “cores” in one program, making it a go-to choice for many emulation setups.
Let’s start by downloading RetroArch (libRetro) from its website, [https://www.libretro.com/][RetroArch]. On the download site, you can select the platform, architecture, etc. Go ahead and download ‘RetroArch.7z’.
Then, unzip the file to Emulation/RetroArch.
That’s it for the installation, and many emulators will be this simple to install.
From here, you will need to set up the emulator. This is where you need to refer to the emulator’s documentation, tutorials, forum posts, etc.
For many emulators, you can simply run the program and load up a ROM/ISO to ensure it works. Some may require downloading a BIOS or “core” first. Some may be even more complicated to set up.
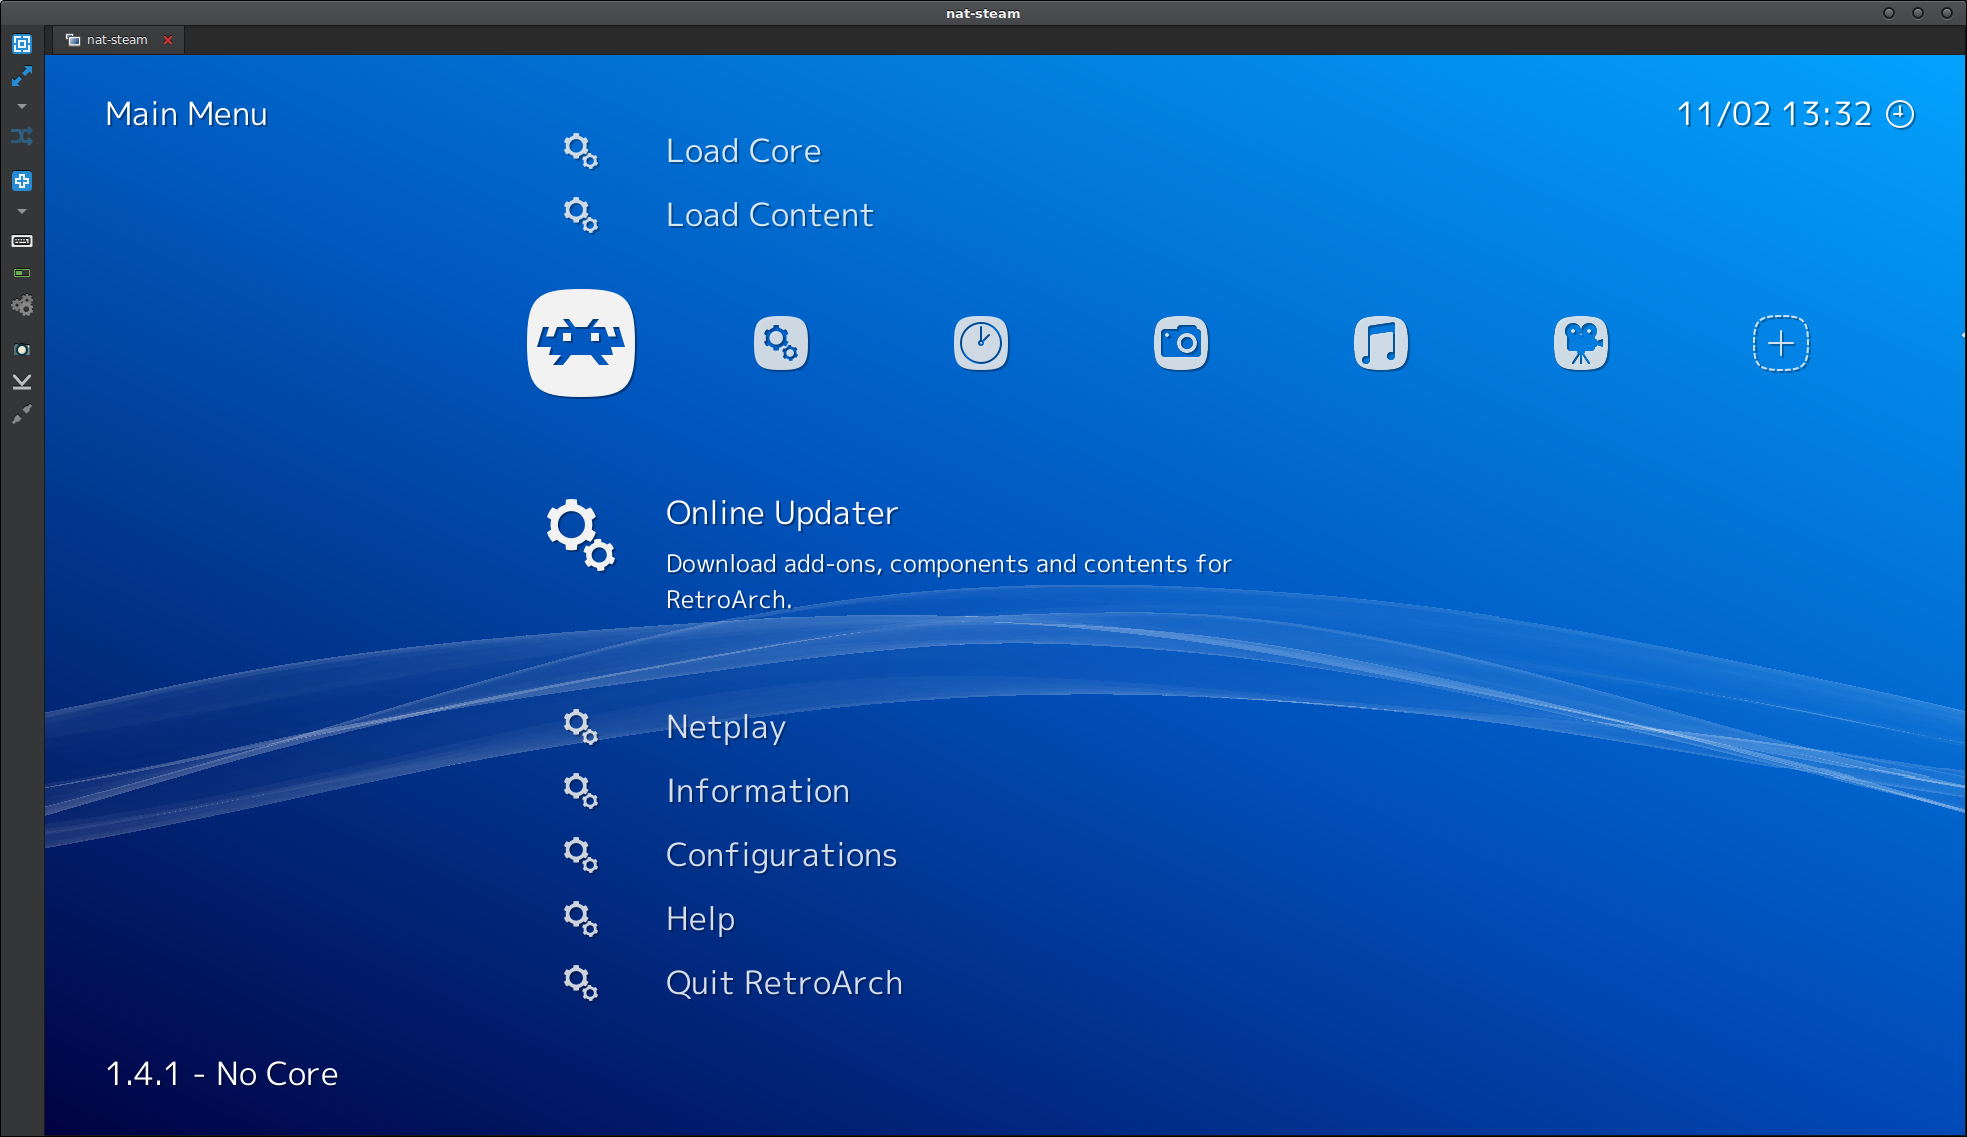
For RetroArch, it almost works immediately out of the box. However, since RetroArch is a program that serves as a framework for multiple emulators (cores), it does not come with any cores pre-installed. Run RetroArch, select ‘Online Updater’, and then ‘Core Updater’.

You will see a list of cores (emulators) to download. Each core emulates a console system and needs to be installed before it can run any games.
Select a core for the console you want to emulate. In this example, let’s choose a core to emulate the Super Nintendo console. I’ve chosen ‘bsnes_balanced_libretro’ as the emulator, which is the bSNES emulator with settings balanced for a tradeoff between perfect emulation and performance.
Info: Note that emulators aren’t perfect, and there will inevitably be occasional glitches, missing textures, etc. It’s difficult to perfectly emulate some systems even on modern CPUs, so choosing a balanced emulator is often
